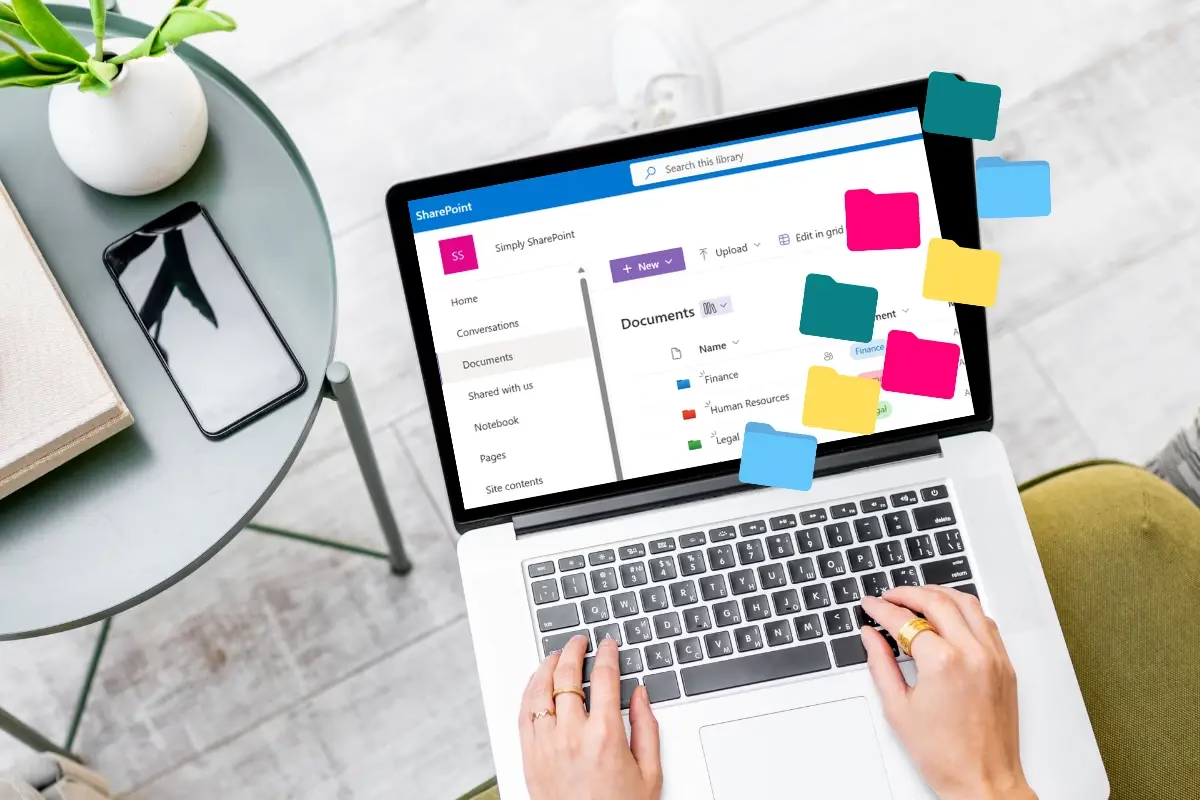
Creating a structured and efficient SharePoint document library doesn’t have to be complicated or time-consuming. In this post, I’ll show you how to set up a Human Resources SharePoint library under 30 minutes. This library will include folders for HR topics, a custom content type, metadata for easy document tagging, and automatic column tagging. Let’s get started!
Creating a Document Library
Firstly, you need to create a new document library for the human resources department.
1: Creating Your Human Resources SharePoint Library
- Navigate to the site where you want to create the HR library.
- Go to Site Contents and click New > Document Library.
- Name your library “Human Resources Documents” and click Create.
2: Enable Version History
- In your library, go to Library Settings (accessible from the gear icon or ribbon).
- Under General Settings, select Versioning Settings.
- Choose Create major versions to ensure changes to documents are tracked.
- Click OK.
3: Create the HR Documents Content Type
- Go to Site Settings and under Web Designer Galleries, select Site Content Types.
- Click Create.
- Enter HR Documents as the name.
- Select Document Content Types as the parent category.
- Choose Document as the parent content type.
- Set the group as Custom Content Types and click OK.
- Add columns to your content type:
- Go to your new content type and click Add Column.
- Create a column named “HR Topic” with the type Choice.
- Enter options for common HR topics, such as:
- Policies
- Procedures
- Recruitment
- Employee Benefits
- Training
4: Add the Content Type to Your Library
- Go back to Library Settings.
- Under Advanced Settings, set Allow management of content types to Yes and click OK.
- Under Content Types, click Add from existing site content types.
- Select “HR Documents” from the Custom Content Types group and click Add.
5: Set Up Folders for HR Topics
- Go to your library and create folders for each HR topic:
- Policies
- Procedures
- Recruitment
- Employee Benefits
- Training
6: Configure Automatic Metadata Tagging
- In the library, go to Library Settings > Column Default Value Settings.
- Select the HR Topic column.
- For each folder:
- Click the folder name
- Set a default value (e.g. Policies for the Policies folder)
- Click OK to save
- Repeat for all folders
7: Test Your Library
- Upload a test document to each folder.
- Check the metadata to ensure the HR Topic column is automatically populated with the correct value.
Why This Setup Works
This approach keeps your documents organised and easy to find. The HR Documents content type ensures consistency, while metadata and automatic tagging streamline searching and filtering. With version history enabled, you’ll have a detailed record of changes to documents over time.
Creating a SharePoint library doesn’t have to be overwhelming. With these steps, you’ll have a fully functioning, well-organised HR library in under 30 minutes. Happy organizing!
Watch It
View the Scribe below to create a HR Document Library.


